How to Setup and Optimize a Mini PC for AI and Machine Learning
Learn how to choose the right hardware, install essential software, and optimize your mini PC for running AI models and machine learning workloads efficiently.
 By Elvis Dicki
Updated October 22, 2026
To set up and optimize a mini PC for AI and machine learning, you need a system with a powerful processor and sufficient RAM, followed by installing a Linux-based operating system, essential AI frameworks like TensorFlow or PyTorch, and configuring your environment for GPU acceleration. Proper cooling and system monitoring are crucial for maintaining performance during long training sessions.
Mini PCs offer a compact and energy-efficient platform for AI development and experimentation. By following this guide, you’ll transform a standard mini PC into a capable machine for training models, running inference, and developing AI applications, all without the bulk and power draw of a traditional desktop.

What You’ll Need
- A mini PC with a modern, multi-core CPU (e.g., AMD Ryzen 7/9 or Intel Core i7/i9 series).
- At least 16GB of RAM (32GB or more is strongly recommended for larger models).
- A fast NVMe SSD (1TB minimum) for datasets and model storage.
- An operating system (Ubuntu 22.04 LTS is highly recommended for compatibility).
- A stable internet connection for downloading software and datasets.
- A compatible monitor, keyboard, and mouse for initial setup.
- Optionally, an external GPU (eGPU) enclosure if your mini PC supports Thunderbolt or USB4 for enhanced graphical performance.
How to Setup and Optimize Your Mini PC for AI, Step by Step
Step 1: Choose and Prepare Your Hardware
Your foundation is critical. Select a mini PC with a processor that supports advanced instruction sets useful for AI, like AVX-512. The GEEKOM [2026 Edition] Mini PC AI A7 MAX with AMD is an example built for this task, featuring an AMD Ryzen 9 processor and upgradeable DDR5 RAM. Ensure you have adequate cooling; sustained high CPU loads during training require effective heat dissipation to prevent thermal throttling.
Connect your monitor, keyboard, and mouse. Before installing any software, update the system’s BIOS/UEFI to the latest version from the manufacturer’s website. This can improve stability, compatibility, and sometimes performance for new hardware.
Step 2: Install a Linux Operating System
While Windows can be used, Ubuntu 22.04 LTS is the de facto standard for AI development due to superior driver support, package management, and framework compatibility. Create a bootable USB drive using the official Ubuntu ISO. Boot from the USB, follow the installation prompts, and choose to install third-party software for graphics and Wi-Fi hardware. Opt for a minimal installation to avoid unnecessary bloat.
Step 3: Install Core Development Tools and Drivers
Once Ubuntu is running, open a terminal and update your package lists. Install essential build tools, Python, pip, and virtual environment support. If your mini PC has dedicated or integrated Radeon/NVIDIA graphics, install the appropriate proprietary drivers. For AMD systems, the open-source Mesa drivers are often sufficient and come pre-installed, but you may need to install ROCm for GPU computing. Always consult your mini PC manufacturer’s documentation for the recommended driver version.
Step 4: Set Up a Python Virtual Environment
Never install AI packages system-wide. Create a dedicated virtual environment for your AI projects using venv or conda. This isolates dependencies and prevents version conflicts. Activate your new environment; all subsequent Python package installations will be confined here, making your projects portable and reproducible.
Step 5: Install AI Frameworks and Libraries
With your virtual environment active, install the core frameworks. Use pip to install TensorFlow or PyTorch. Check the official websites for the correct command, as it often includes platform-specific flags for CPU/GPU support (e.g., pip install torch torchvision torchaudio --index-url https://download.pytorch.org/whl/cpu for CPU-only systems). Also install essential helper libraries like NumPy, Pandas, Matplotlib, scikit-learn, and Jupyter Notebook/Lab for experimentation.
Step 6: Optimize System Performance
Optimization ensures you get the most from your hardware. First, enable a swap file or partition if your RAM is less than 32GB; this prevents crashes with large datasets. Adjust Linux swappiness to a lower value (e.g., 10) to favor RAM usage. For storage, ensure your SSD is mounted with the ‘noatime’ option to reduce write operations. Use tools like ‘htop’ to monitor CPU and memory usage in real-time.
Configure your BIOS/UEFI settings for performance: enable any performance modes, ensure virtualization is enabled (for Docker/VMs), and set the cooling profile to prioritize cooling over silence during intensive tasks.
Step 7: Test Your Setup with a Benchmark Model
Validate your installation by running a simple benchmark. Download a small, standard dataset like MNIST and train a basic convolutional neural network (CNN) using your chosen framework. Time the training process and monitor system temperatures using ‘sensors’ command. This confirms all components are working together and gives you a baseline performance metric.
Step 8: Implement a Robust Monitoring and Backup Strategy
Set up automated monitoring. You can use simple cron jobs to log CPU temperature and usage to a file, or use more advanced tools. More importantly, establish a backup routine for your code and trained models. Use version control (Git) for code and scripts. For models and important datasets, consider setting up a scheduled rsync to an external drive or a network-attached storage (NAS) device to prevent data loss.
Recommended Products
The right peripherals can enhance your development workflow. A multi-monitor setup improves productivity, and a quiet environment aids concentration during long coding sessions.
GEEKOM A7 MAX Mini PC Ryzen 9 7940HS 16GB DDR5 1TB
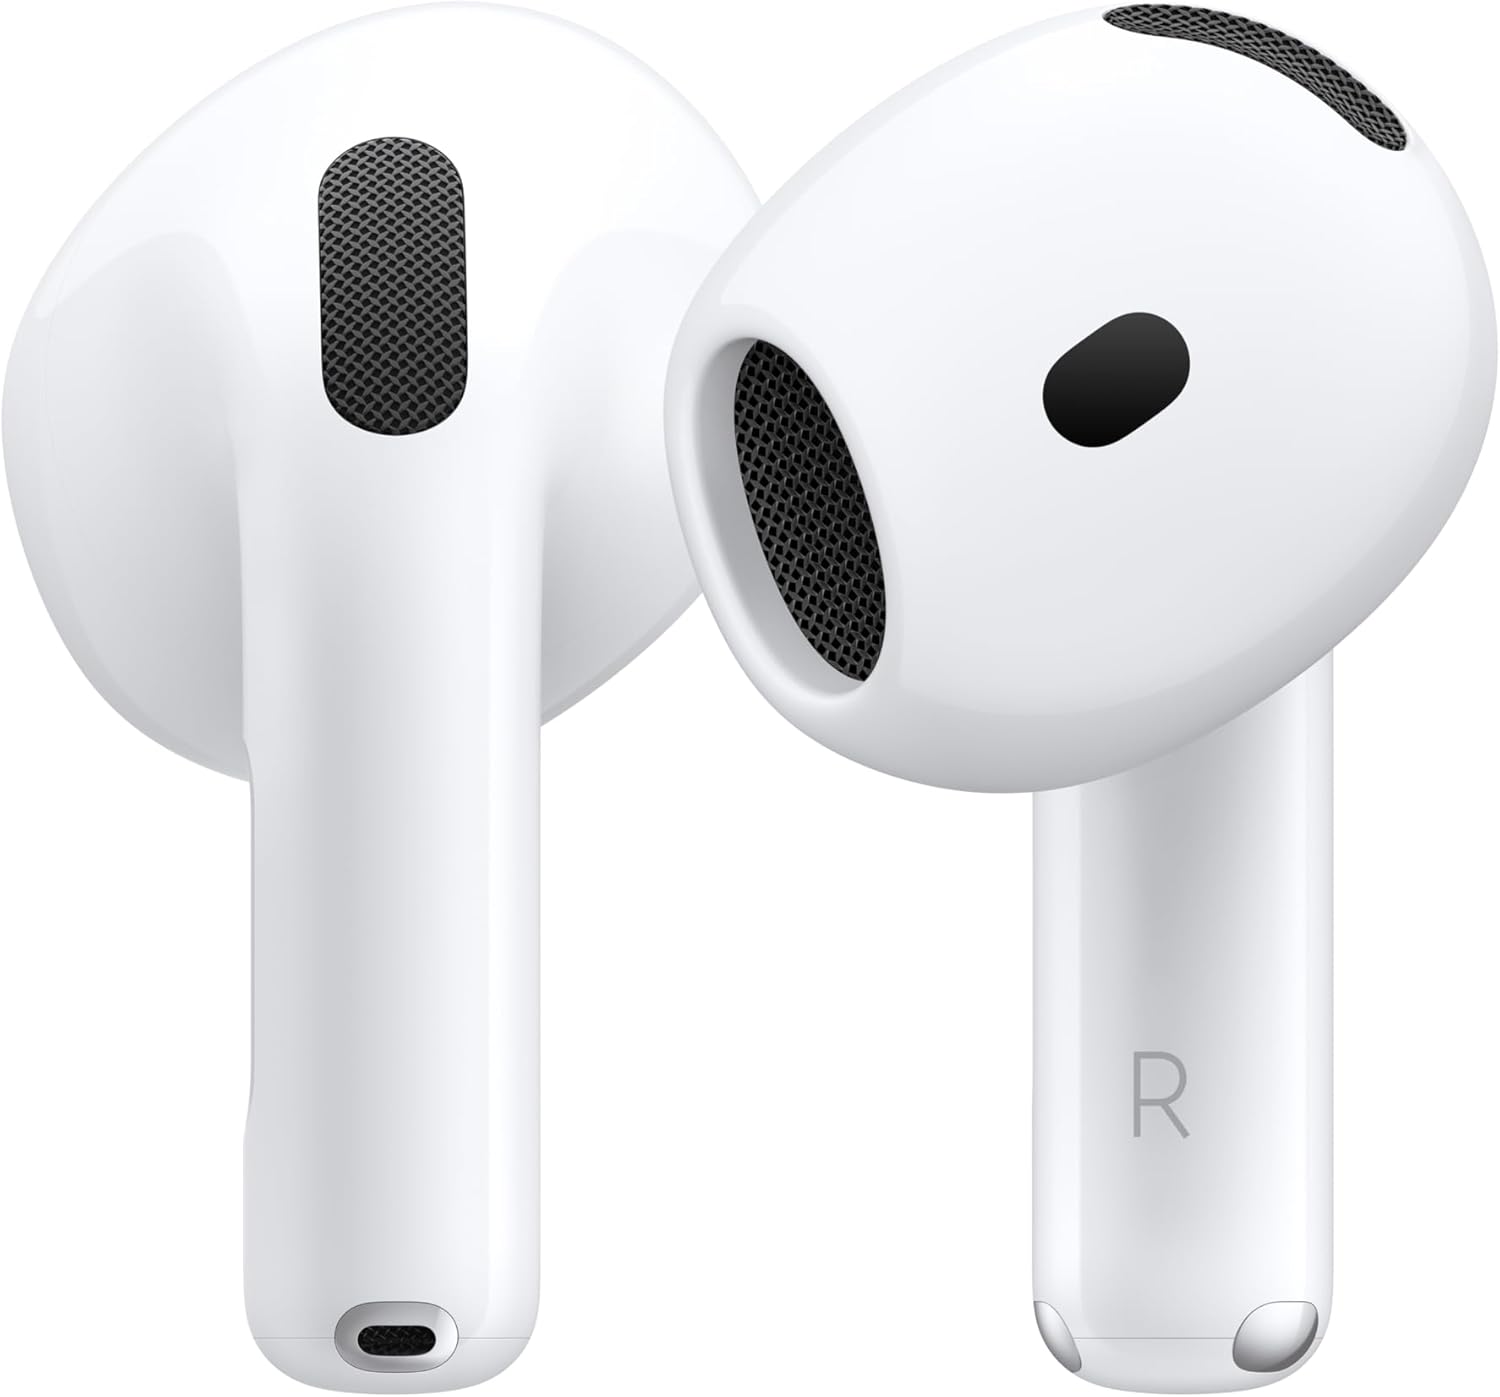
Apple AirPods 4 Wireless Earbuds with Personalized
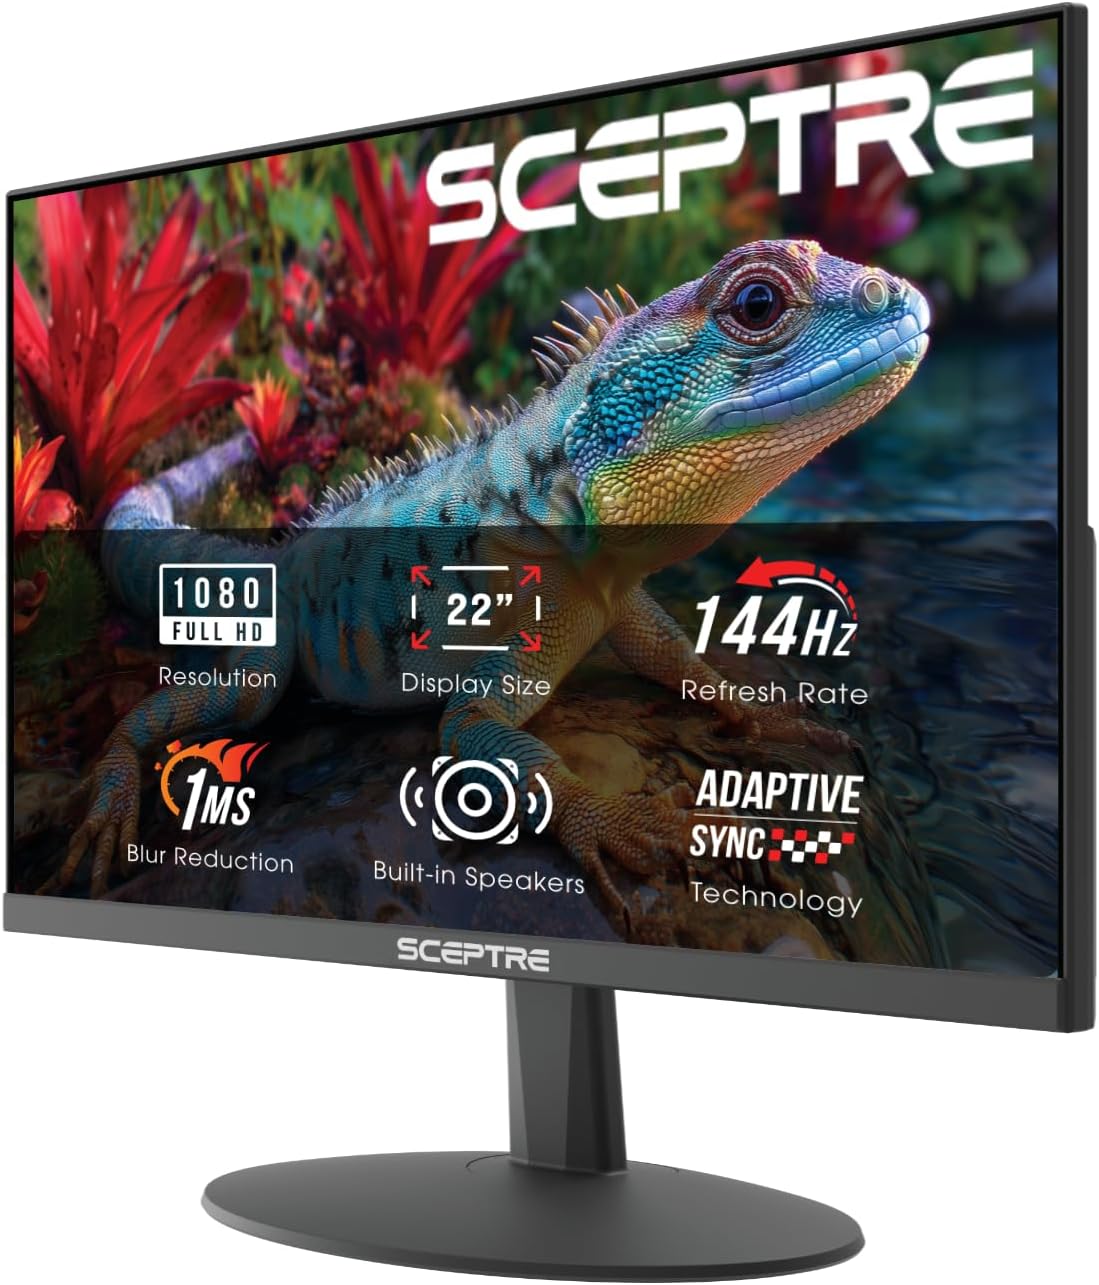
Sceptre New 22-Inch Gaming Monitor, FHD 1080p
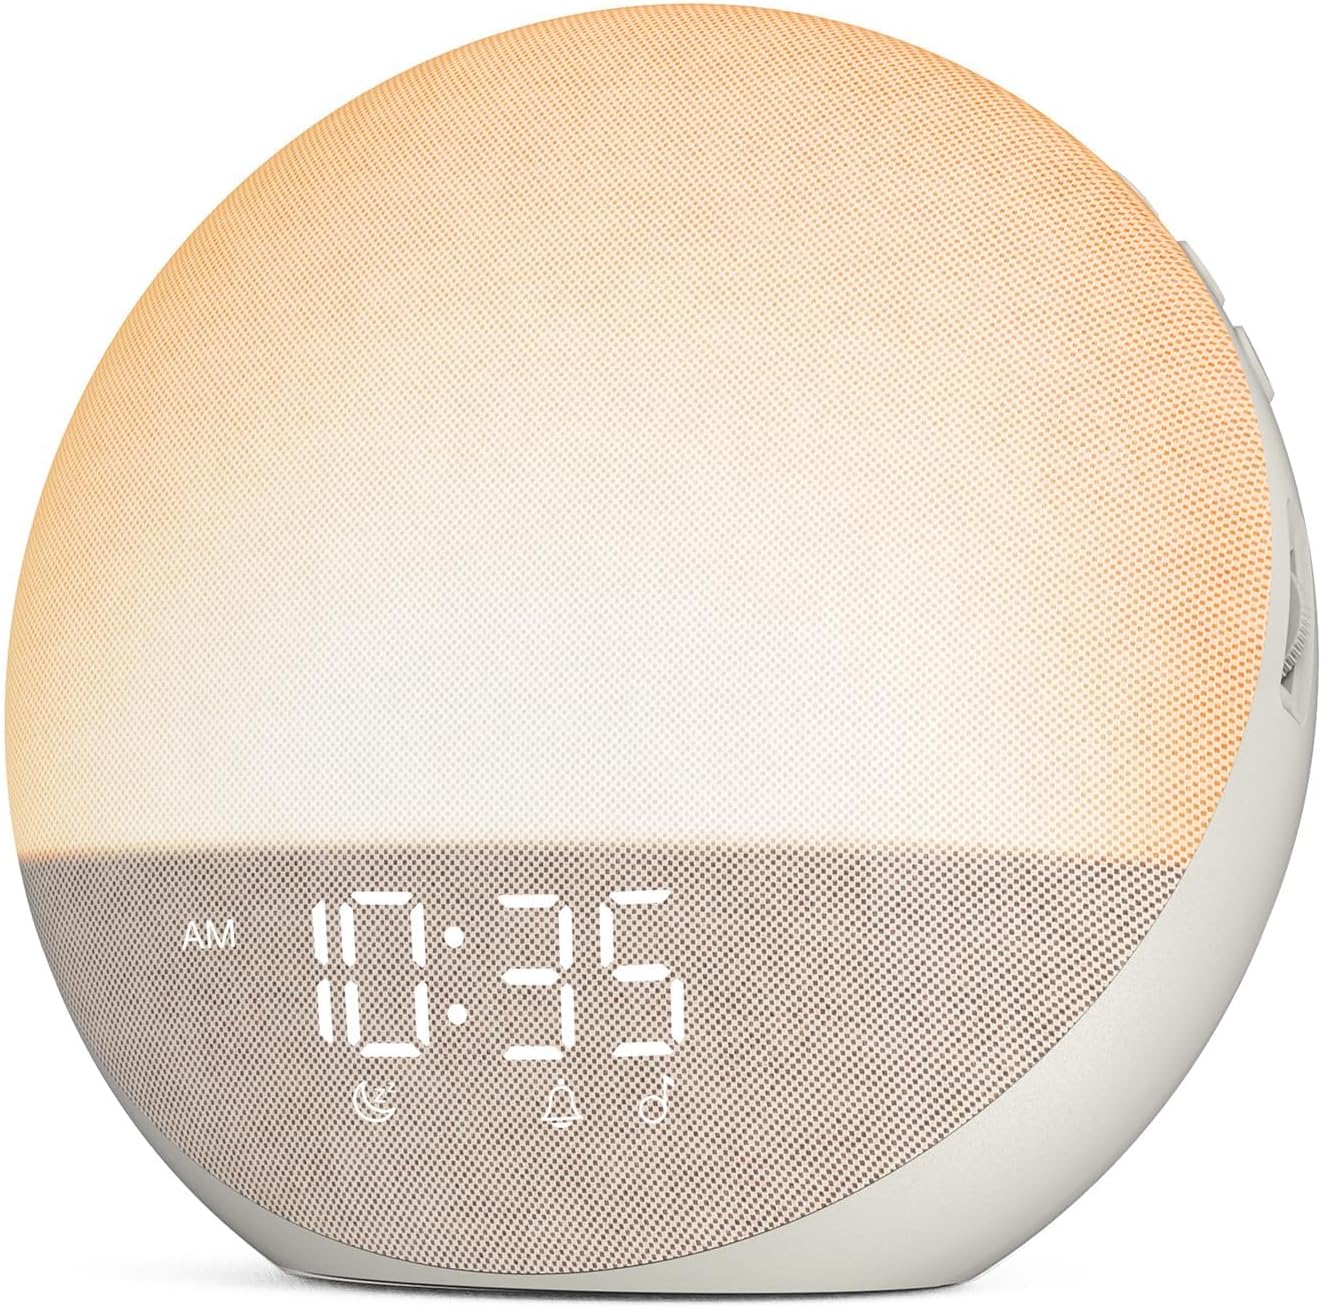
Prime Odokee Sunrise Alarm Clock White Noise Machine
As an Amazon Associate we earn from qualifying purchases. Product prices and availability are accurate as of the date/time indicated.
Common Mistakes to Avoid
- Skipping Virtual Environments: Installing packages globally leads to dependency hell and makes project replication impossible.
- Ignoring Cooling: Placing the mini PC in an enclosed space or on a soft surface causes overheating and severe performance throttling.
- Using Outdated Drivers: Always install the GPU/compute drivers recommended for your specific Linux distribution and hardware.
- Neglecting System Monitoring: Failing to monitor temperatures and resource usage can lead to unexpected crashes and lost work.
- No Backup Plan: Losing weeks of training progress because you didn’t back up your model checkpoints is a costly, avoidable error.
- Overlooking BIOS Updates: An outdated BIOS can cause instability with new operating systems and hardware.
Frequently Asked Questions
Can a mini PC really handle machine learning?
Yes, modern mini PCs with powerful 8-core/16-thread processors and 32GB+ of RAM are fully capable of training many common machine learning models and are excellent for development, experimentation, and running inference. They are ideal for learning and prototyping before scaling to cloud resources.
Do I need a dedicated GPU (dGPU) for AI on a mini PC?
Not necessarily. Many tasks can run on a modern CPU, and advanced integrated GPUs like AMD’s Radeon 780M can accelerate some workloads. For heavier training, you can often add an external GPU (eGPU) via Thunderbolt or USB4 if your mini PC supports it, offering a flexible upgrade path.
Why is Ubuntu preferred over Windows for AI development?
Ubuntu offers better support for the underlying tools and libraries, simpler package management, and less overhead. Most AI frameworks and research papers provide instructions and troubleshooting primarily for Linux environments, making the development process smoother.
How much RAM do I actually need?
16GB is the absolute minimum for basic work. 32GB is recommended as it allows you to load larger datasets into memory and work with more complex models without constant swapping to disk, which slows progress dramatically. For advanced work, 64GB or more is beneficial.
Whatu0026#039;s the biggest limitation of using a mini PC for AI?
The primary limitation is thermal headroom. Mini PCs have compact cooling systems, so sustained, full-load training sessions may cause thermal throttling, reducing clock speeds. Choosing a well-cooled model and ensuring excellent external ventilation mitigates this.
Final Thoughts
Setting up a mini PC for AI and machine learning is a rewarding project that creates a powerful, personal development station. By carefully selecting your hardware, installing a stable Linux environment, and methodically optimizing your system, you can build a capable machine for exploring the world of artificial intelligence. Remember that the field evolves quickly, so maintaining your system with updates and continually learning about new optimization techniques is part of the journey. For more on hardware setups, see our guide on connecting peripherals to various systems.
About the author

Elvis Dicki writes reviews and buying guides for CyberSecLabs.