How to Repair a Canon Lens: A Step-by-Step Guide
Learn how to diagnose and perform basic repairs on your Canon lens, including cleaning internal elements and fixing common issues like stiff focus rings.
 By Elvis Dicki
Updated October 22, 2026
To repair a Canon lens, you first need to diagnose the problem, gather the right tools, and follow a careful, step-by-step process for disassembly, cleaning, and reassembly. This guide covers common fixes for issues like dust inside the lens, a stiff focus ring, or minor mechanical problems you can tackle at home.
A lens malfunction can be a photographer’s nightmare, stopping a shoot in its tracks. While serious damage like broken glass or electronic failure requires professional service, many common issues are within the reach of a careful DIYer. Learning basic repair skills can save you time and money, and give you a deeper understanding of your gear.
This guide will walk you through the essential steps for diagnosing and fixing typical Canon lens problems. We’ll emphasize safety and precision, as working with delicate optics requires a steady hand and patience. Remember, if you’re ever unsure or the problem seems complex, seeking professional repair is always the safest choice.
What You’ll Need
- A clean, well-lit, and static-free workspace (a large table)
- Precision screwdriver set (JIS or Phillips, various sizes)
- Lens spanner wrench or rubber lens opening tool
- Fine-tipped tweezers (non-magnetic)
- Soft-bristled brush and microfiber cloths
- Lens cleaning solution and sensor swabs (for internal elements)
- Isopropyl alcohol (90%+) for cleaning contacts
- Small containers or a magnetic parts tray to organize screws
- A camera body to test the lens after repair
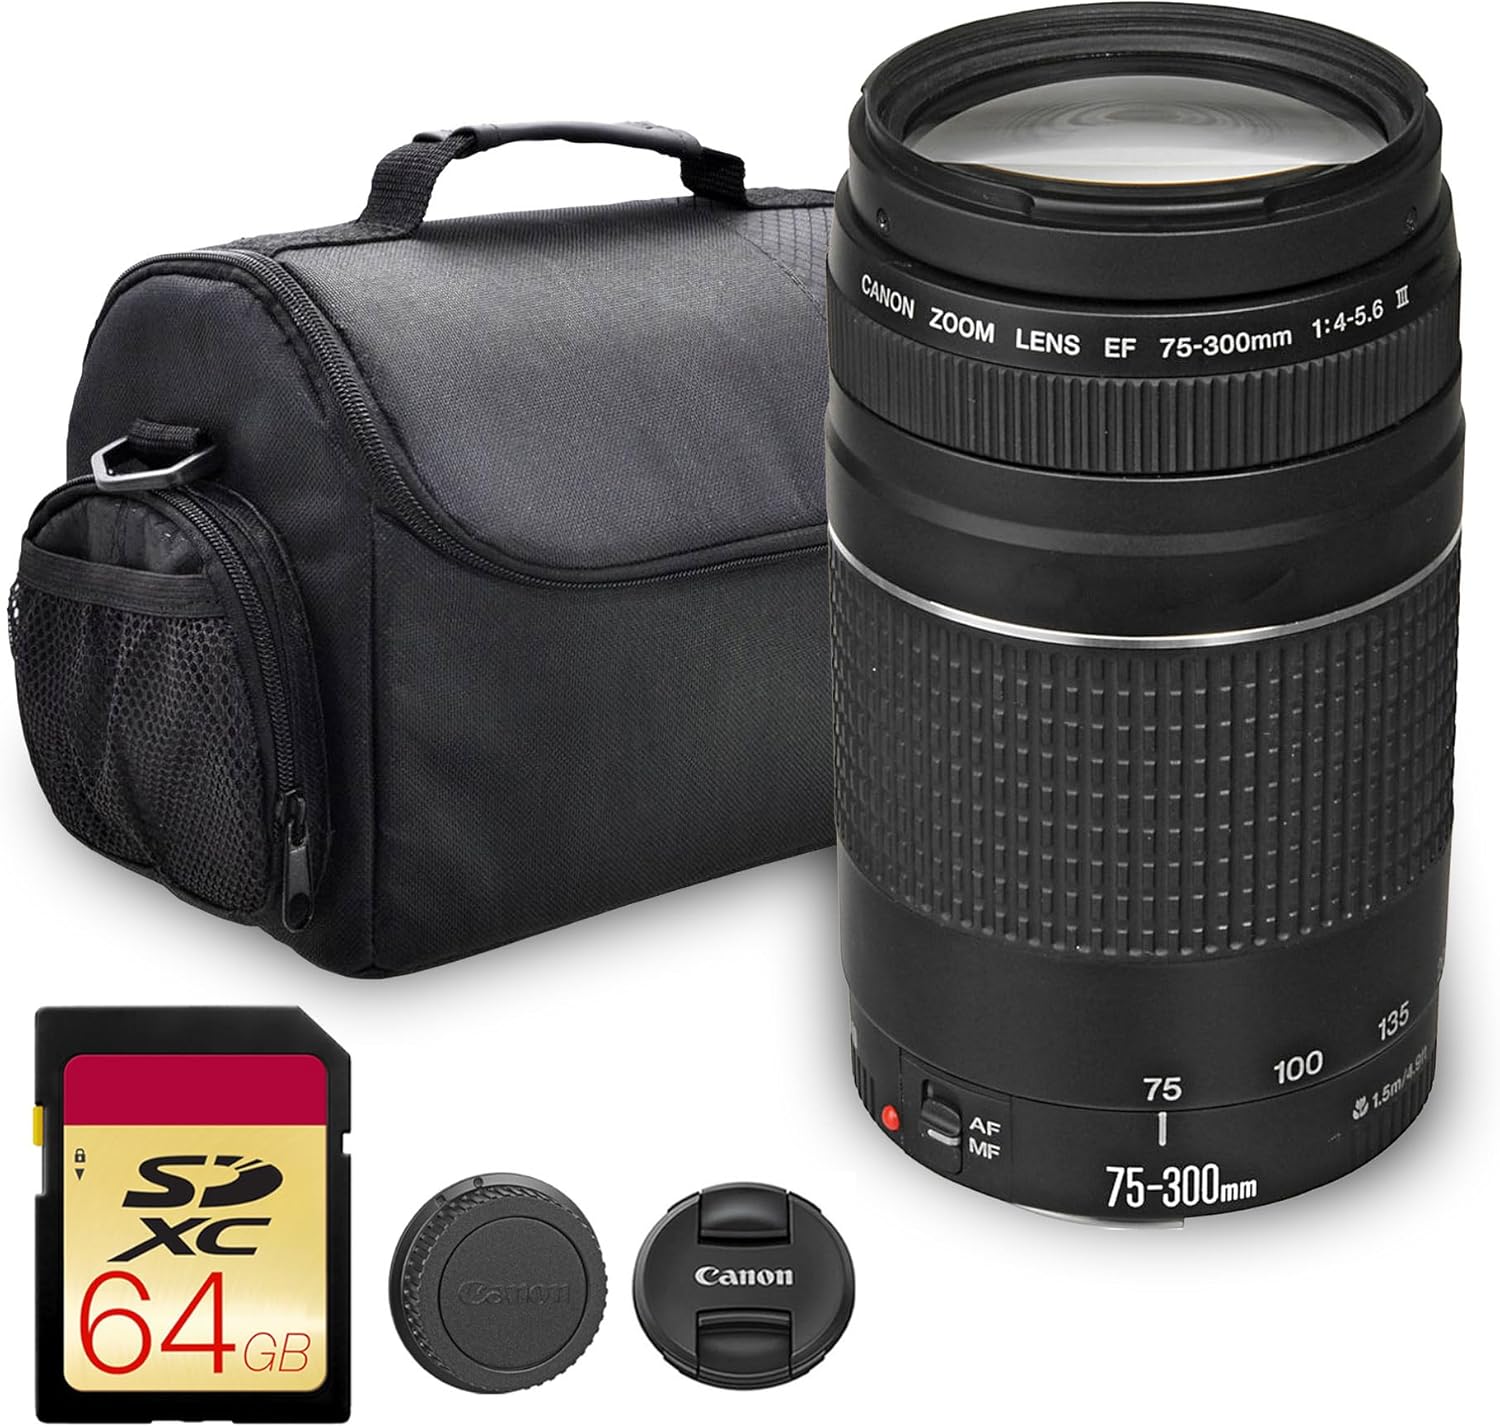
- For a complete replacement, consider the Canon EF 75-300mm f/4-5.6 III Compact Telephoto as a versatile and affordable option.
How to Repair a Canon Lens, Step by Step
Step 1: Diagnose the Problem Accurately
Before you touch a screwdriver, identify the exact issue. Is there visible dust or fungus inside? Does the autofocus grind or not engage? Is the manual focus ring stiff or completely stuck? Test the lens on a camera body. Check for error messages, test autofocus and manual focus across the range, and take test shots at different apertures to look for soft spots or haze.
This diagnosis tells you where to focus your repair. Dust inside the front element group is a different fix than a seized focus helicoid. For more on cleaning optics, see our related guide on how to clean inside a Canon lens.

Step 2: Prepare Your Workspace and Lens
Clear a large, clean table. Use an anti-static mat if possible. Remove the lens from the camera and take off any filters, lens hoods, or caps. Have all your tools laid out and organized. Take reference photos of the lens from every angle before you start; these will be invaluable during reassembly.
Ground yourself to avoid static discharge that can damage electronics. Work in good, direct light. Patience here prevents mistakes later.
Step 3: Remove the External Rings and Casing
Most repairs require accessing the internal barrel. Start by removing the rubber focus or zoom grip. It’s often glued; gently peel it back. Underneath, you’ll find retaining rings or screws holding the outer nameplate or control rings. Use the correct-sized screwdriver or a lens spanner to carefully unscrew these rings.
Place every screw and ring in your parts tray in the order they were removed. Note their orientation. The outer casing should now lift away, revealing the internal helicoids and aperture mechanism.
Step 4: Clean Internal Elements and Mechanisms
For dust or light haze, you may not need full disassembly. If you can access the element surfaces, use a rocket blower first, then a soft brush. For fingerprints or smudges on internal elements, apply a drop of lens cleaning solution to a sensor swab and gently wipe the glass in a circular motion from the center out. Never touch the glass with your fingers.
For a stiff focus ring, the issue is often dried or gummed-up grease on the focus helicoid threads. You’ll need to carefully separate the helicoid sections, clean off the old grease with isopropyl alcohol and a cloth, and apply a tiny amount of specialized helicoid grease before reassembling. This is a delicate process—alignment marks are critical.

Step 5: Reassemble and Test Meticulously
Reassembly is the reverse of disassembly, but with extreme care. Refer constantly to your pre-disassembly photos. Ensure all helicoid alignment marks match precisely before screwing sections together. Screws should be snug but not overtightened—stripping the threads in plastic housings is easy.
Once fully reassembled, don’t mount it on your camera just yet. Manually operate the focus and zoom rings to feel for smoothness. Then, mount it on your camera body. Test autofocus, manual focus, and take sample images at various apertures. Compare the results to your pre-repair test shots.
Recommended Products
Having the right tools makes any repair job safer and more successful. For those looking for a reliable telephoto option, the following lens is known for its smooth autofocus and versatile reach.
Prime Canon EF 75-300mm f/4-5.6 III Compact Telephoto
Lyre Harp, 16-String Mahogany Lyra Harp Kit
CGXUED Mini Vlogging Camera 180° Rotating Lens
As an Amazon Associate we earn from qualifying purchases. Product prices and availability are accurate as of the date/time indicated.
Common Mistakes to Avoid
- Using the wrong screwdriver: Using a Phillips on a JIS screw can strip the head, making removal impossible.
- Losing track of screws: Not organizing parts leads to leftover screws and a wobbly lens.
- Forcing components: If something doesn’t move easily, you’re likely misaligned. Stop and check.
- Using inappropriate grease: Standard grease can damage plastics and optics. Only use grease designed for lens helicoids.
- Cleaning the wrong element: Aggressively cleaning a fixed element when the issue is on a removable group.
- Ignoring alignment marks: Helicoids have timing marks for a reason. Missing them will prevent the lens from focusing to infinity.
Frequently Asked Questions
Can I repair a lens with autofocus problems myself?
Simple autofocus issues like a dirty electrical contact can often be fixed by cleaning the gold contacts on the lens mount with isopropyl alcohol. However, if the autofocus motor is failing or there is a deeper electronic fault, DIY repair is not recommended and requires a professional technician with specialized tools.
How do I know if my lens has fungus?
Fungus appears as thin, web-like or spotted patterns on the glass elements, often starting at the edges. It can cause permanent etching. If you suspect fungus, isolate the lens from your other gear immediately to prevent spread. While cleaning is possible, professional service is often best for severe cases.
Is it worth repairing an old, inexpensive lens?
It depends on the sentimental or practical value. For a basic kit lens worth less than a professional repair quote, it might be more cost-effective to replace it. However, the u003ca href=u0022https://www.amazon.com/dp/B0FW6K4CY9u0022u003eCanon EF 75-300mm f/4-5.6 III Compact Telephotou003c/au003e represents a category where a new purchase can offer modern features at a reasonable price, making repair less appealing unless you’re practicing skills.
What should I do if I see dust between lens elements?
A few dust specks inside a lens rarely affect image quality. Attempting to disassemble a sealed group to remove minor dust often introduces more dust and risk. It’s usually best to leave it unless the dust is severe and causing visible spots in your images, especially at small apertures like f/16 or f/22.
Where can I find repair manuals or diagrams for my specific Canon lens?
Canon does not publicly release service manuals. Some can be found through online photography repair communities and forums. Websites dedicated to camera repair sometimes have tear-down guides for popular models. Always cross-reference multiple sources.
Final Thoughts
Repairing a Canon lens is a rewarding challenge that builds confidence and saves money, but it requires respect for the precision engineering involved. Start with simple cleaning tasks before attempting mechanical disassembly. Document every step, work slowly, and know your limits.
When a lens is beyond economical repair, replacing it with a reliable model like the telephoto mentioned above can get you back to shooting quickly. For more technical guides and gear insights, explore our full Blog. Your patience and care are the most important tools in your repair kit.
About the author

Elvis Dicki writes reviews and buying guides for CyberSecLabs.