Creating a Droplet in DigitalOcean is a straightforward process that allows you to deploy virtual servers quickly and efficiently. This article will guide you through the steps necessary to create your own Droplet, from signing up for an account to configuring your server settings. By the end of this guide, you will have a fully functional Droplet ready for your projects.
How to Create a Droplet in Digital Ocean
Step 1: Sign Up for DigitalOcean
-
Visit the [DigitalOcean website](https://www.digitalocean.com/).
-
Click on the “Sign Up” button.
-
Fill in the required information or sign up using your GitHub or Google account.
-
Verify your email address by clicking on the link sent to your inbox.
Review of DigitalOcean and Step-by-Step Account Registration
Step 2: Add Billing Information
-
After signing up, log in to your DigitalOcean account.
-
Navigate to the “Billing” section in the left sidebar.
-
Enter your payment information. DigitalOcean may require a credit card or PayPal account for billing purposes.
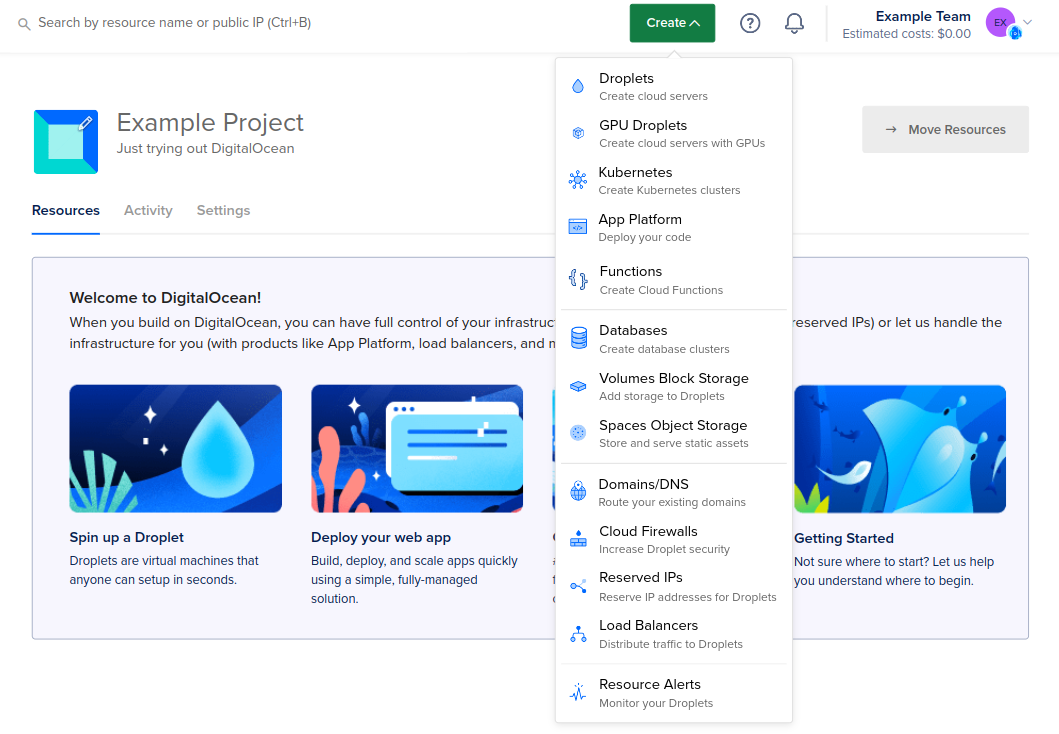
Step 3: Create a Droplet
-
Click on the “Create” button in the top right corner of the dashboard.
-
Select “Droplets” from the dropdown menu.
Step 3.1: Choose an Operating System
-
You will be presented with a list of operating systems. Choose the one that best fits your needs (e.g., Ubuntu, CentOS, Debian).
-
Click on the selected operating system to proceed.
Step 3.2: Select a Plan
-
Choose a plan based on your resource requirements. DigitalOcean offers various plans, including Standard, General Purpose, CPU-Optimized, and Memory-Optimized.
-
Select the plan that suits your project needs.
Step 3.3: Choose a Data Center Region
-
Select a data center region that is closest to your target audience for better performance.
-
Click on the desired region to confirm your choice.
Step 3.4: Additional Options
-
You can enable additional options such as backups, monitoring, and private networking based on your requirements.
-
If you want to add SSH keys for secure access, you can do so in this section.
Step 3.5: Finalize Droplet Settings
-
Enter a hostname for your Droplet. This can be anything you like, but it should be descriptive.
-
Review all your selections to ensure everything is correct.
Step 4: Create the Droplet
-
Once you have finalized your settings, click the “Create Droplet” button at the bottom of the page.
-
Your Droplet will be created, and you will be redirected to the Droplets page where you can see its status.
Step 5: Access Your Droplet
-
After your Droplet is created, you will receive an email with its IP address and login credentials.
-
Use an SSH client (like PuTTY or Terminal) to connect to your Droplet using the provided IP address and credentials.
Conclusion
Congratulations! You have successfully created a Droplet in DigitalOcean. You can now begin deploying applications, hosting websites, or experimenting with various configurations. Remember to monitor your Droplet’s performance and manage your resources effectively to ensure optimal operation.


