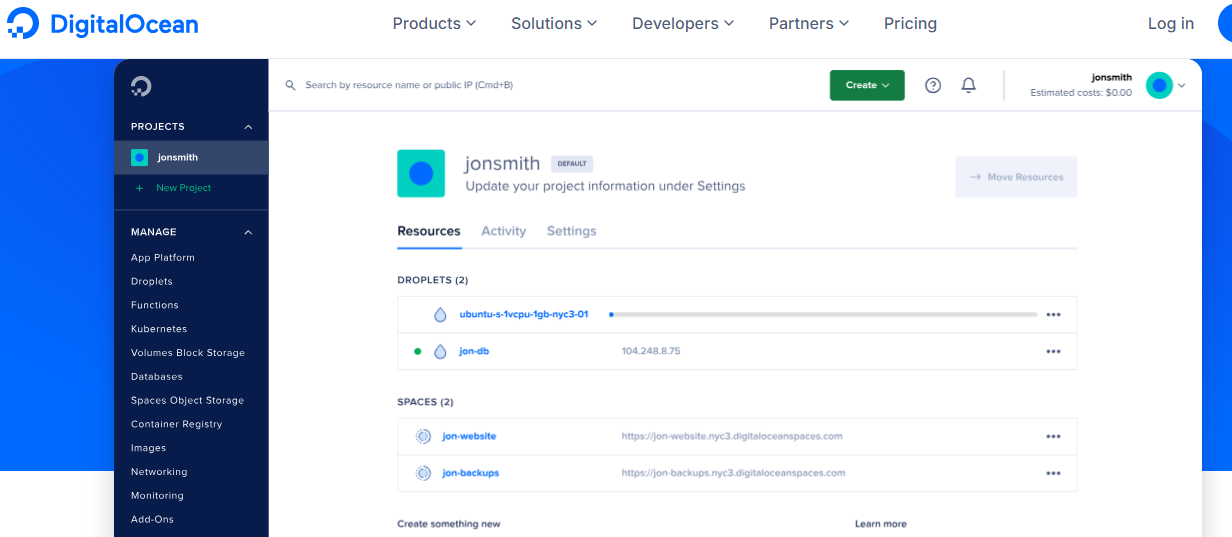
DigitalOcean is a cloud infrastructure provider that offers developers a simple and efficient platform to deploy and scale applications. Known for its user-friendly interface and robust performance, DigitalOcean is particularly popular among startups and small to medium-sized businesses. This document provides an overview of DigitalOcean’s features, pricing, and a step-by-step guide to registering an account.

DigitalOcean and Step-by-Step Account Registration
Overview of DigitalOcean
DigitalOcean provides a range of services including virtual servers (Droplets), managed databases, Kubernetes, and scalable storage solutions. Its key features include:
-
Simplicity: DigitalOcean is designed to be easy to use, with a straightforward dashboard and clear documentation.
-
Performance: The platform offers high-performance SSD-based virtual machines that can be deployed in various data centers around the world.
-
Scalability: Users can easily scale their resources up or down based on their needs, making it suitable for projects of all sizes.
-
Community Support: DigitalOcean has a vibrant community with extensive tutorials and Q&A sections that help users troubleshoot and learn.
Pricing
DigitalOcean offers a pay-as-you-go pricing model, which allows users to only pay for the resources they consume. Pricing is competitive, with various plans available for Droplets, managed databases, and other services. Users can choose from different configurations based on their performance needs and budget.
Step-by-Step Account Registration
Follow these steps to create an account on DigitalOcean:
-
Visit the DigitalOcean Website: Go to [DigitalOcean’s homepage](https://www.digitalocean.com).
-
Click on “Sign Up”: Locate the “Sign Up” button on the top right corner of the page and click it.
-
Enter Your Email Address: Provide a valid email address that you want to associate with your DigitalOcean account.
-
Create a Password: Choose a strong password for your account. Make sure it meets the security requirements.
-
Agree to Terms of Service: Read through DigitalOcean’s Terms of Service and Privacy Policy. Check the box to agree to these terms.
-
Click “Sign Up”: After filling in the required information, click the “Sign Up” button to proceed.
-
Verify Your Email: Check your email inbox for a verification email from DigitalOcean. Click on the verification link provided in the email to confirm your address.
-
Add Payment Information: Once your email is verified, log in to your DigitalOcean account. You will be prompted to add a payment method. Enter your credit card or payment details to activate your account.
-
Complete Your Profile: Fill in any additional information required to complete your profile setup.
-
Start Using DigitalOcean: After completing the registration process, you can start creating Droplets, deploying applications, and exploring the various services offered by DigitalOcean.
Conclusion
DigitalOcean is an excellent choice for developers looking for a reliable and user-friendly cloud platform. Its straightforward registration process allows users to quickly get started with cloud computing. With its competitive pricing and robust features, DigitalOcean continues to be a popular option for those looking to build and scale applications in the cloud.


